|
______________________________________________________________________________________________________________ In 1699 the French explorer Iberville discovered a point on the Mississippi River where the river
doubled back on itself. Time and high waters eventually allowed the river to change its course, taking the short cut and avoiding
the 22-mile curve. The resulting oxbow lake was called "Fausse Riviere" in French, now, False River.
______________________________________________________________________________________________________________________
________________________________________________________________________________________
|
|
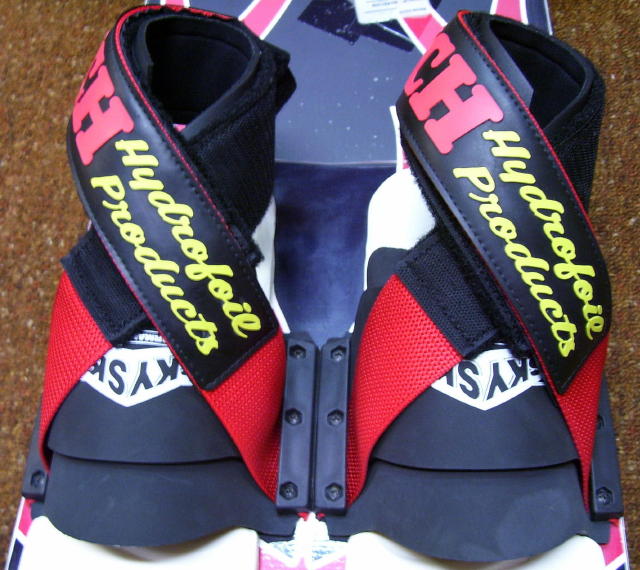
Installing
the FootStays:
1. To install, simply remove the toe bars (bars on either side of the rubber toe piece) and remove
the rubber heel straps.
2. Use the forward and middle screw locations for shoe sizes up to 12 and rear and
middle screw locations for larger sizes. Check the phillips screw heads for wear. If the toe bar screws are worn, this would
be a good time to change them out with new SS screws. This is also a good time to check the toe bars for cracks.
3. Attach the ends of the FootStay under the toe bar and above the rubber toe piece and 1/8” rubber overlay. It
is usually easier to assemble all parts before re-attaching to ski.
4. When tightening the toe bar screws, tighten
evenly to lessen the chance of cracking the toe bar.
5. After installing the FootStays, periodically check the
toe bar screws for tightness.
6. To get into the FootStay, simply insert your foot all the way into the toe piece.
Wrap the right side (WITH NO graphics) counter clockwise around your ankle to a snug fit, being sure to aim the end of the
right portion directly at the point where the left side originates from the toe bar mounting. This assures that all the hook
and loop closure will be attached when you wrap the left side(side WITH graphics) clockwise to make the final closure. When
complete, the FootStay should be snug and just above the ankle. Enjoy!
|
|
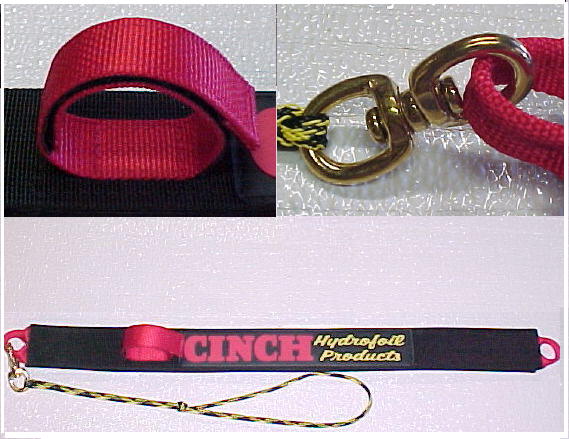
Attaching and set-up for the Release:
1. Take the release apart.
Attach approxamately 8" of the Hook and Loop closure to start. Be sure to have the Hook and Loop attached evenly and
pressed firmly together.
2. Make a brisk start (as much throttle as the rider can stand). The release may separate.
If it does, shake the water out of the part that Released and re-attach.
3. Continue to repeat the brisk start,
attaching an additional 1" of Hook and Loop each time until you can make a brisk start without the release separating.
4. At this point you can attach an additional ¼” to ½” of Hook and Loop and you should
be set.
5. You will have to re-adjust for riders that vary greatly in weight or riding style from the last rider.
After a few uses, you will know which setting is best for each rider. Different setting can be used for different manuvers
by using the Graphics as a guide for placement.
|
|
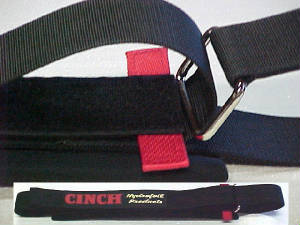
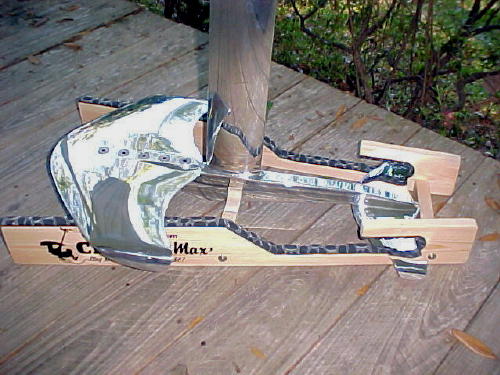
Installing the CINCH ‘Max’®:
(For Footman Loops)
There is an easy way to install the ‘Max’
without removing a footman loop from the seat base or kneeboard. The following steps will assume that you are looking at the
rear of your kneeboard or seat tower.
1. After removing the old strap, completely undo your ‘Max’.
2. Remove the ProPad that’s attached to the ‘Max’.
3. Take the end of the ‘Max’
that does not have the graphics and ring on it and insert it in the right footman loop from the inside out. One side of that
end has hook (sticky) and the other side has the loop (fuzzy). As you insert it from the inside out, the hook should be looking down
as it comes from inside to outside of the right footman loop.
4. Pull the entire ‘Max’ all the way
through, until the ring is at the footman loop. Then continue to pull the part with the graphics all the way through. It’s
a little tight, but it will come through just fine.
5. Once the graphics end is through the footman loop, insert
it through the ring on the 'Max'. You’re home free now!
6. The last step is to pass that first end through
the left footman loop, going from the outside in, attach the ProPad back to the underside of the ‘Max’ and you
are ready to sit down, tighten up and enjoy the flight! (For
Swivels)
1. After removing
the old strap, completely undo your ‘Max’.
2. Remove the ProPad that’s attached to the ‘Max’.
3. Take the end of the ‘Max’ that does not have the graphics and ring on it and insert it, with the
swivels in the up position, from the outside in. One side of that end has hook (sticky) and the other side has the
loop (fuzzy). As you insert it, the hook should be looking up as you come from outside to in.
4. Pull
the entire ‘Max’ all the way through, until the ring is at the swivel. Then continue to pull the part with the
graphics all the way through. It’s a little tight, but it will come through just fine.
5. Once the graphics
end is through the swivel, insert it through the ring on the 'Max'.
6. Now take the end without the graphics and run it through the opposite swivel from the inside out with the
swivel standing up. Now attach the ProPad
back to the underside of the ‘Max’ and you are ready to sit down, tighten up and enjoy the flight!
|
|
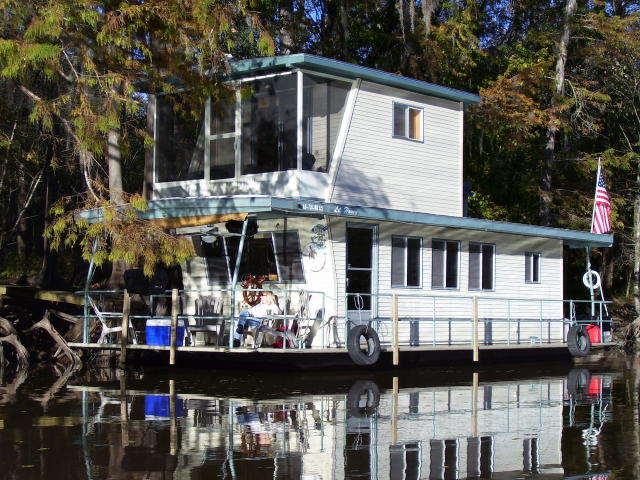
'Lil Honey' . Home away
from home.
|